One slider per app, in the notch
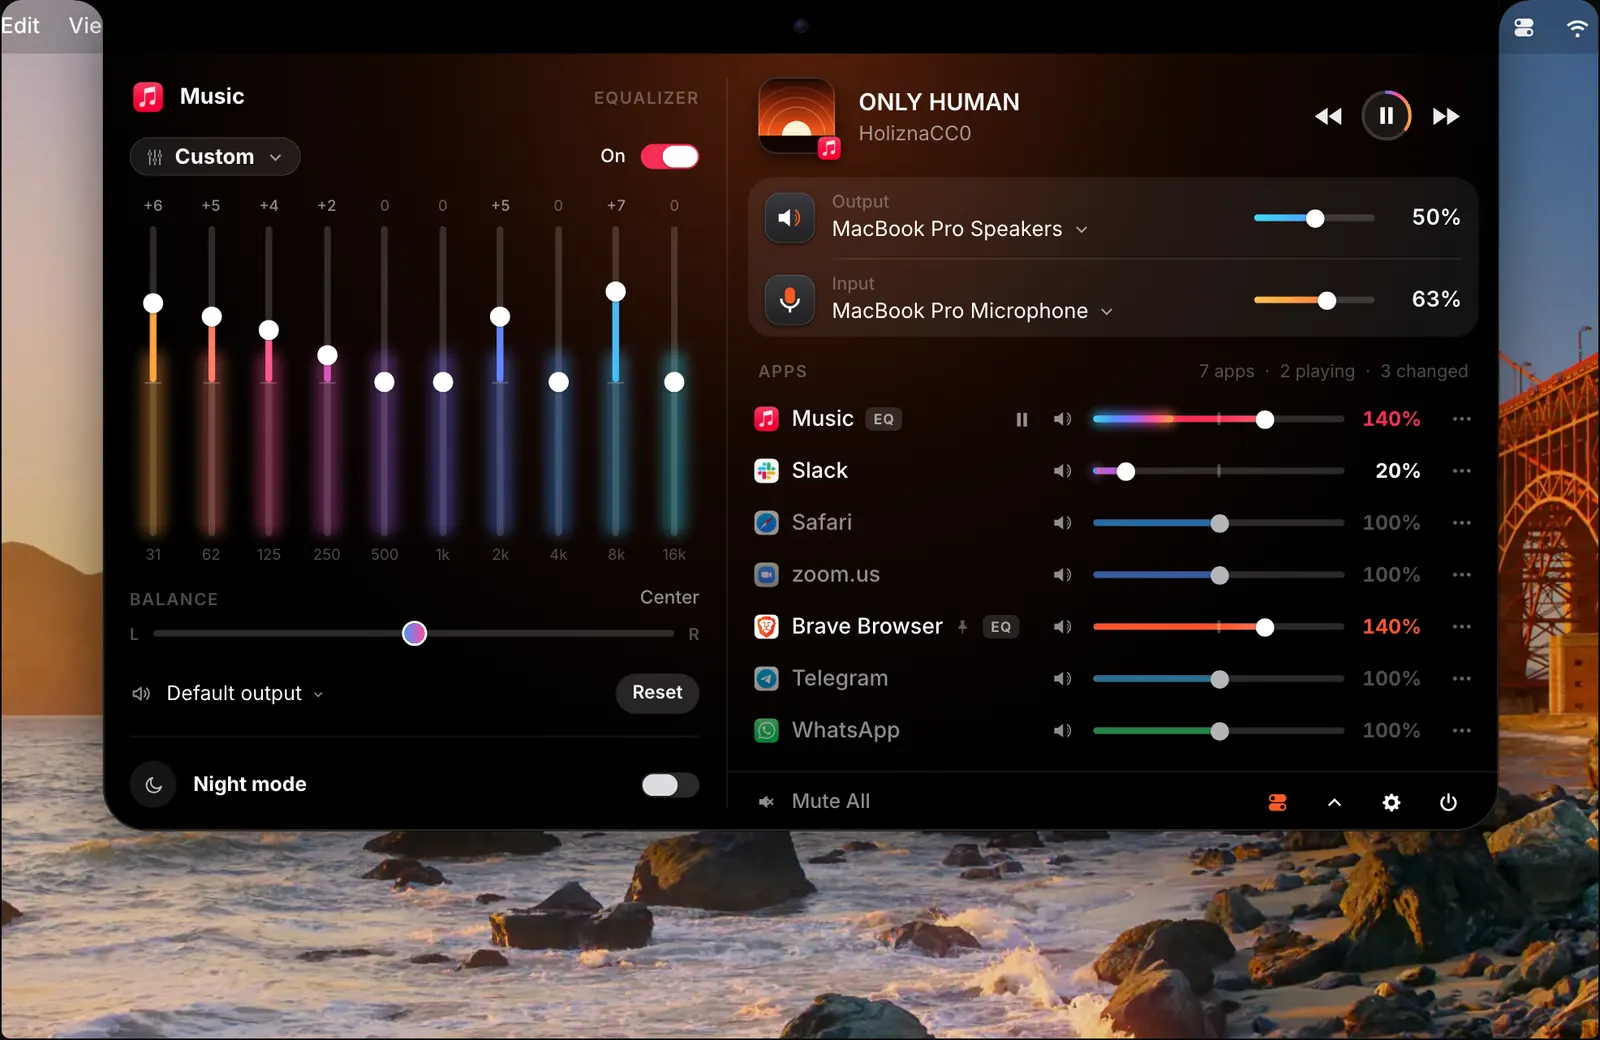
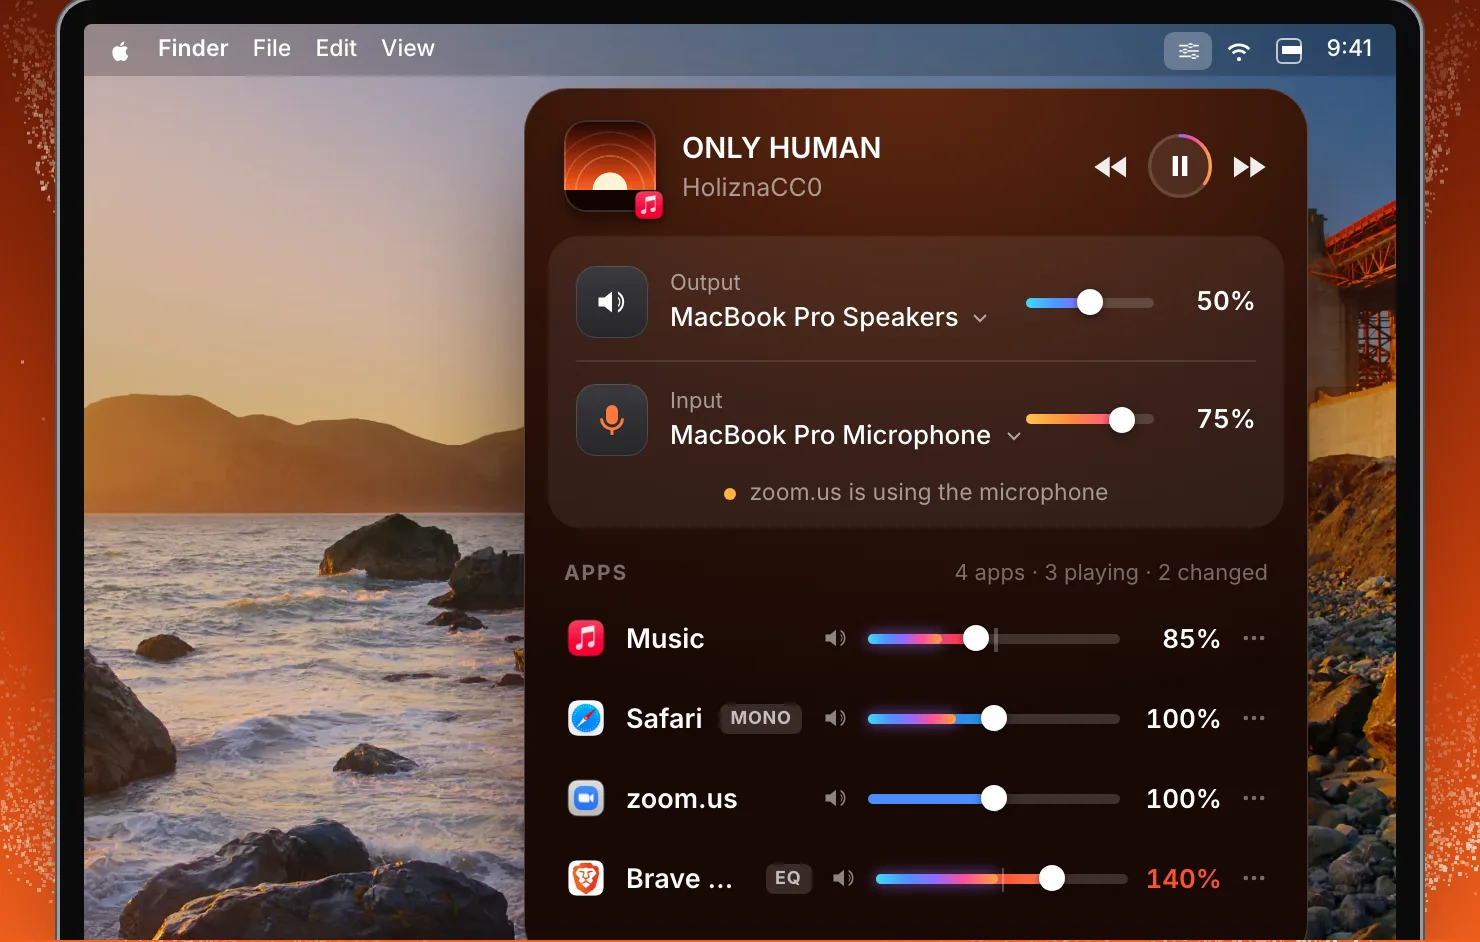
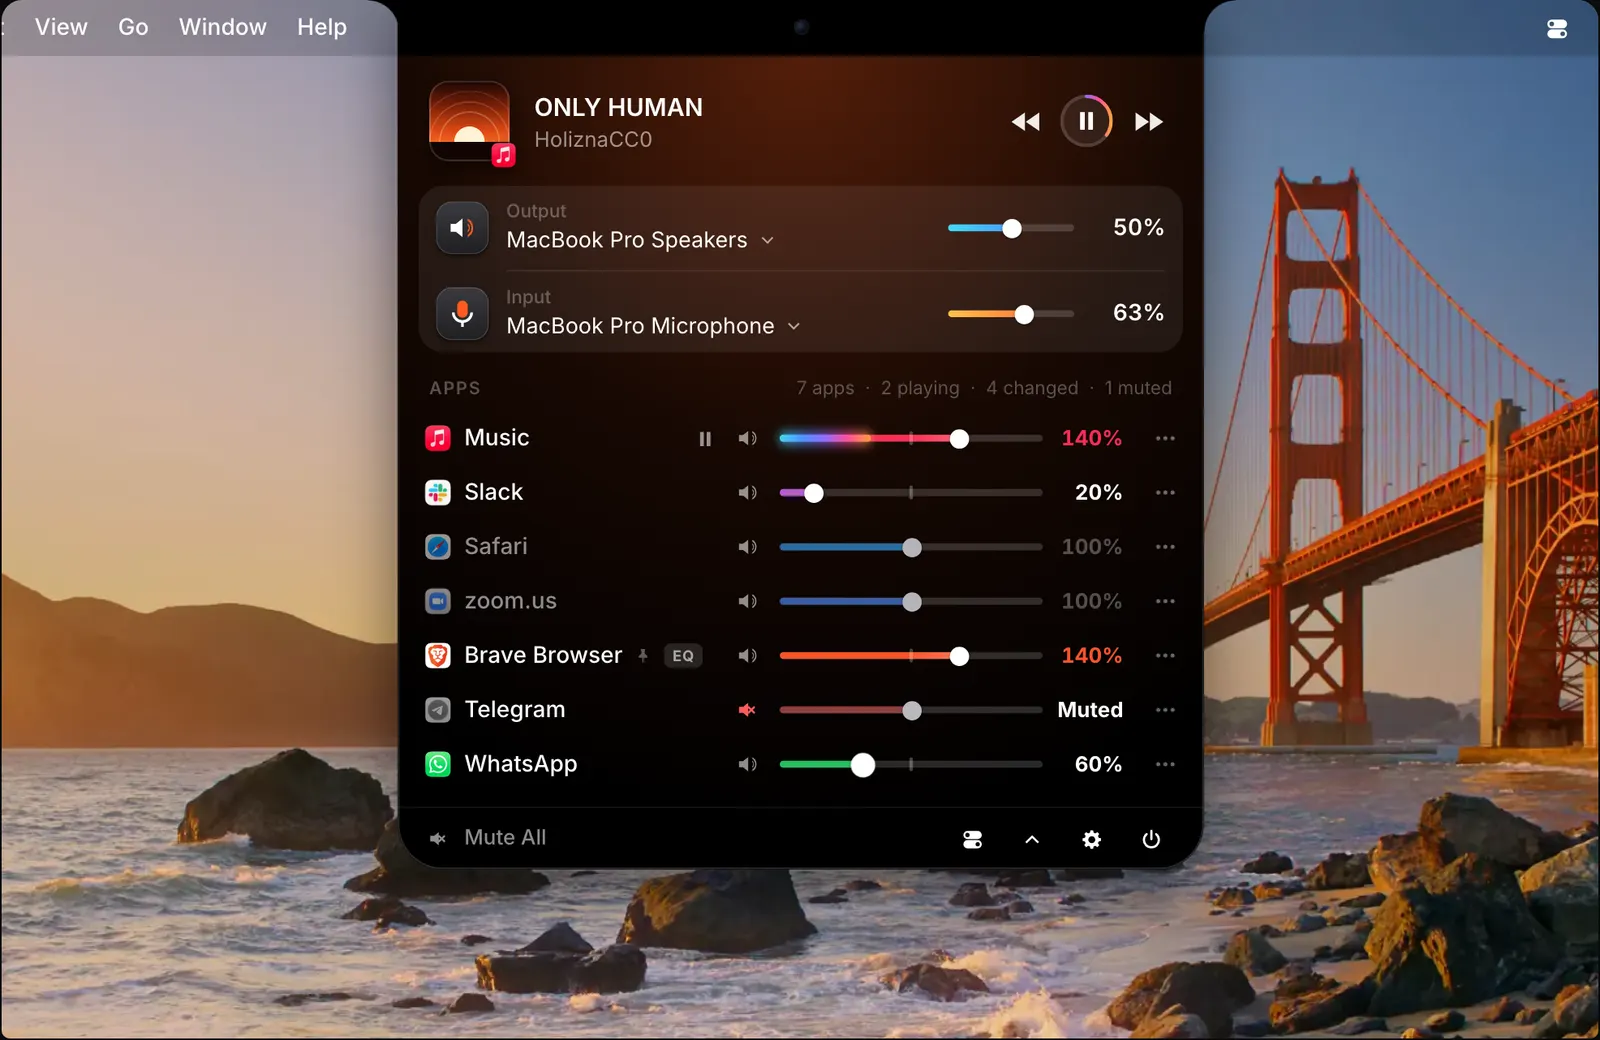
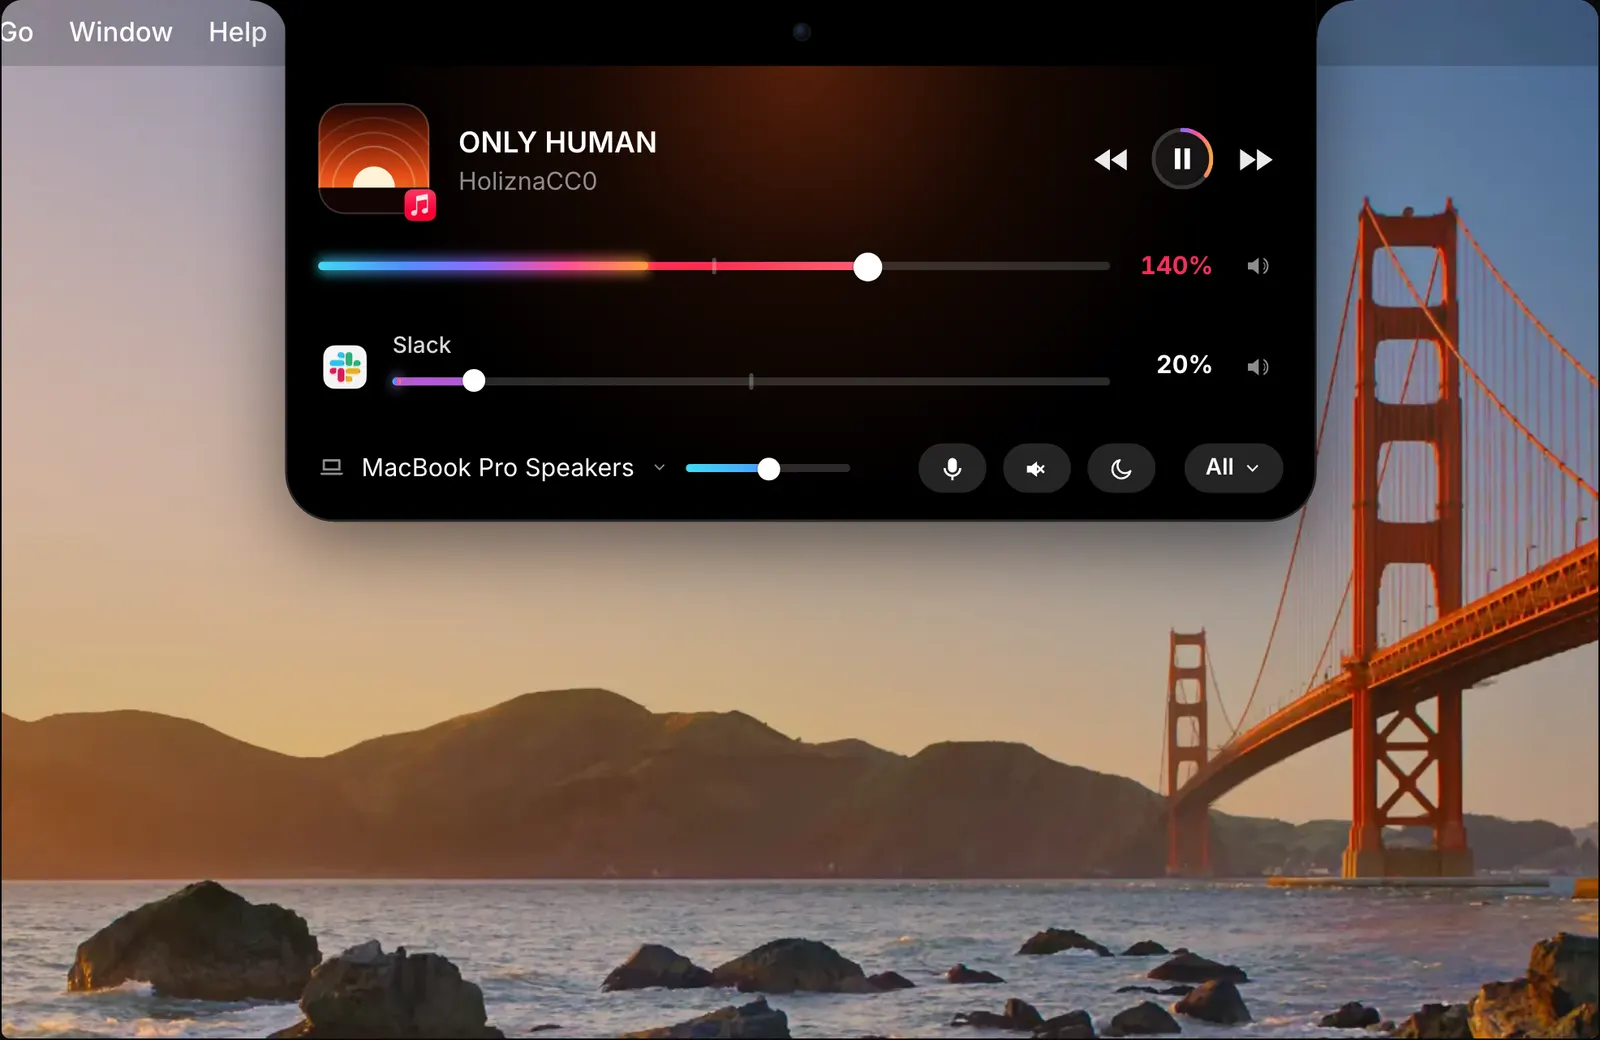
Open the notch, by hovering over it or clicking it, whichever you chose. It shows the song that is playing first, then a row for each other app that is making sound right now. Every row has a slider, the level as a percentage, and a mute button. Apps that are silent stay out of the way.
Click All and the list grows to every app, with the Mac’s output and microphone above it, each with a slider of its own. A line over the list counts the apps, how many are playing and how many you have changed.
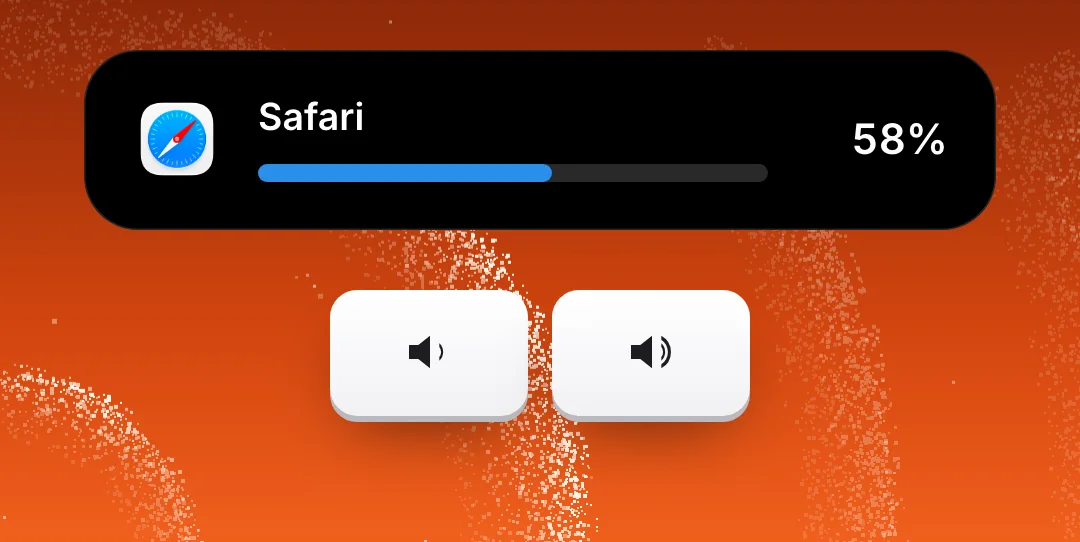
There are three ways to move a slider: drag it, scroll over its row, or use the keyboard. An app keeps the volume you gave it, so it is the same the next time the app opens.
Boost a quiet app to 200%
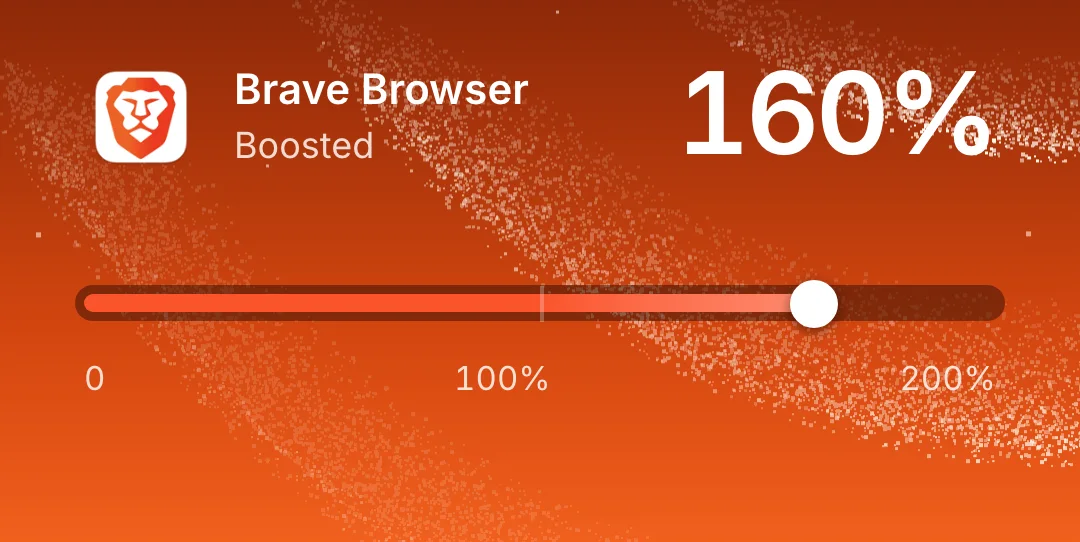
Each slider runs from 0 to 200%, so an app that is too quiet at full volume can go above it. A mark on the slider shows where 100% is. Past that mark the slider’s colour gets brighter the further you go, which makes a boosted app easy to spot in the list.
On a trackpad you can feel it as well: the trackpad taps at 100% and at each end of a slider.
The song, the level meters and the order of the list
The top of the mixer shows the song that is playing, with its cover, name and artist, and buttons for previous, play or pause, and next. Any other app that answers the Mac’s play key gets a play and pause button on its own row. If you would rather not see the song, turn it off in Settings > General.
Inside each slider a live level shows how loud that app is playing at this moment. You can switch the meters off.
The list sorts itself. Apps that are playing come first, then the ones you adjust most. Pin an app to keep it at the top.
- Rows as thin sliders or as filled bars
- Each slider takes its colour from the app’s icon
- Three sizes: Compact, Regular and Relaxed
- Mute every app at once with one click or ⌃⌥M
Point the volume keys at the front app
The volume keys on the keyboard change the whole Mac. SoundBar has an option that makes them change the app in front instead, so the keys follow whatever you are using. macOS asks for Accessibility permission when you turn this on, because SoundBar has to receive those keys.
How to use it
- 1
Open the mixer
Hover over the notch or click it, or click SoundBar’s item in the menu bar.
- 2
Find the app
Apps that are playing are listed first. Click All to see every app.
- 3
Set its volume
Drag the slider or scroll over the row. Click the mute button to silence it.
- 4
Go past 100% if you need to
Keep dragging to the right, up to 200%.
The details
- Range
- 0 to 200% for each app
- For each app
- A volume slider, a mute button, and play and pause where the app answers the play key
- Mute all apps
- One click, ⌃⌥M, or a Shortcuts action
- Opens from
- The notch or the menu bar
- Sizes
- Compact, Regular and Relaxed
- Permission
- Audio capture, asked for once by macOS
Questions
Does macOS have a per-app volume mixer?
No. macOS has one volume for all apps. SoundBar adds a volume slider and a mute button for each app, in the notch or the menu bar.
Can I make one app louder than 100%?
Yes. Each app goes up to 200%. Past 100%, the slider’s colour gets brighter the further it goes.
Does an app keep its volume after I quit it?
Yes. Each app keeps its volume between launches.
Can the volume keys change only the app I am using?
Yes. An option makes the Mac’s volume keys change the front app instead of the system volume. It needs Accessibility permission.
Why does macOS ask for audio access?
To play an app at the level you set, SoundBar has to pass that app’s sound through itself. It does this on your Mac and keeps none of it.
The same feature on the app's own site: soundbarmac.com/