Three shelves for every icon
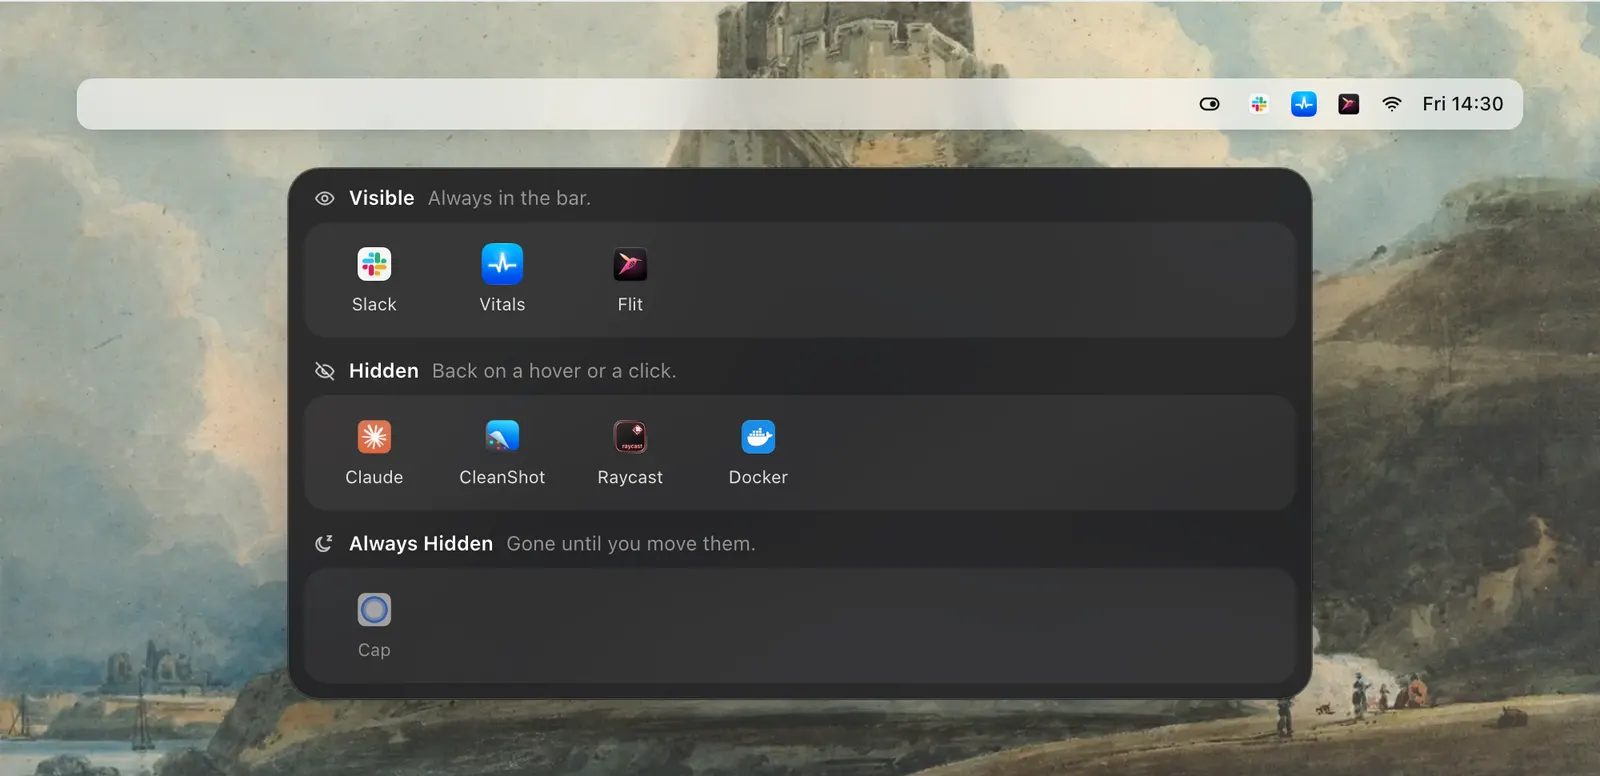
Open Settings › Menu Bar and Levers lists every icon that is in your bar right now. Each sits on one of three shelves. Visible icons stay in the bar. Hidden icons leave it until you ask for them. Always Hidden icons stay away until you move them to another shelf yourself.
To move an icon, drag it to a shelf, or right-click it and choose one. Moving the first icon switches hiding on, and it stays on after Levers or the Mac restarts, and after an update.
- Visible: always in the bar
- Hidden: back on a hover, a click or a hotkey
- Always Hidden: gone until you move it
- The clock always stays
Three ways to bring hidden icons back
While anything is hidden, a small mark sits in the bar. Point at it and the Hidden shelf slides back in. The icons stay for as long as you are using them and fold away when you move on.
You choose the trigger under Bringing them back: pointing at the mark, pointing anywhere along the top of the screen, or only a click on the mark. An ⌥-click on the mark shows the Always Hidden icons as well, and a hotkey from Settings › Shortcuts does it without the mouse.
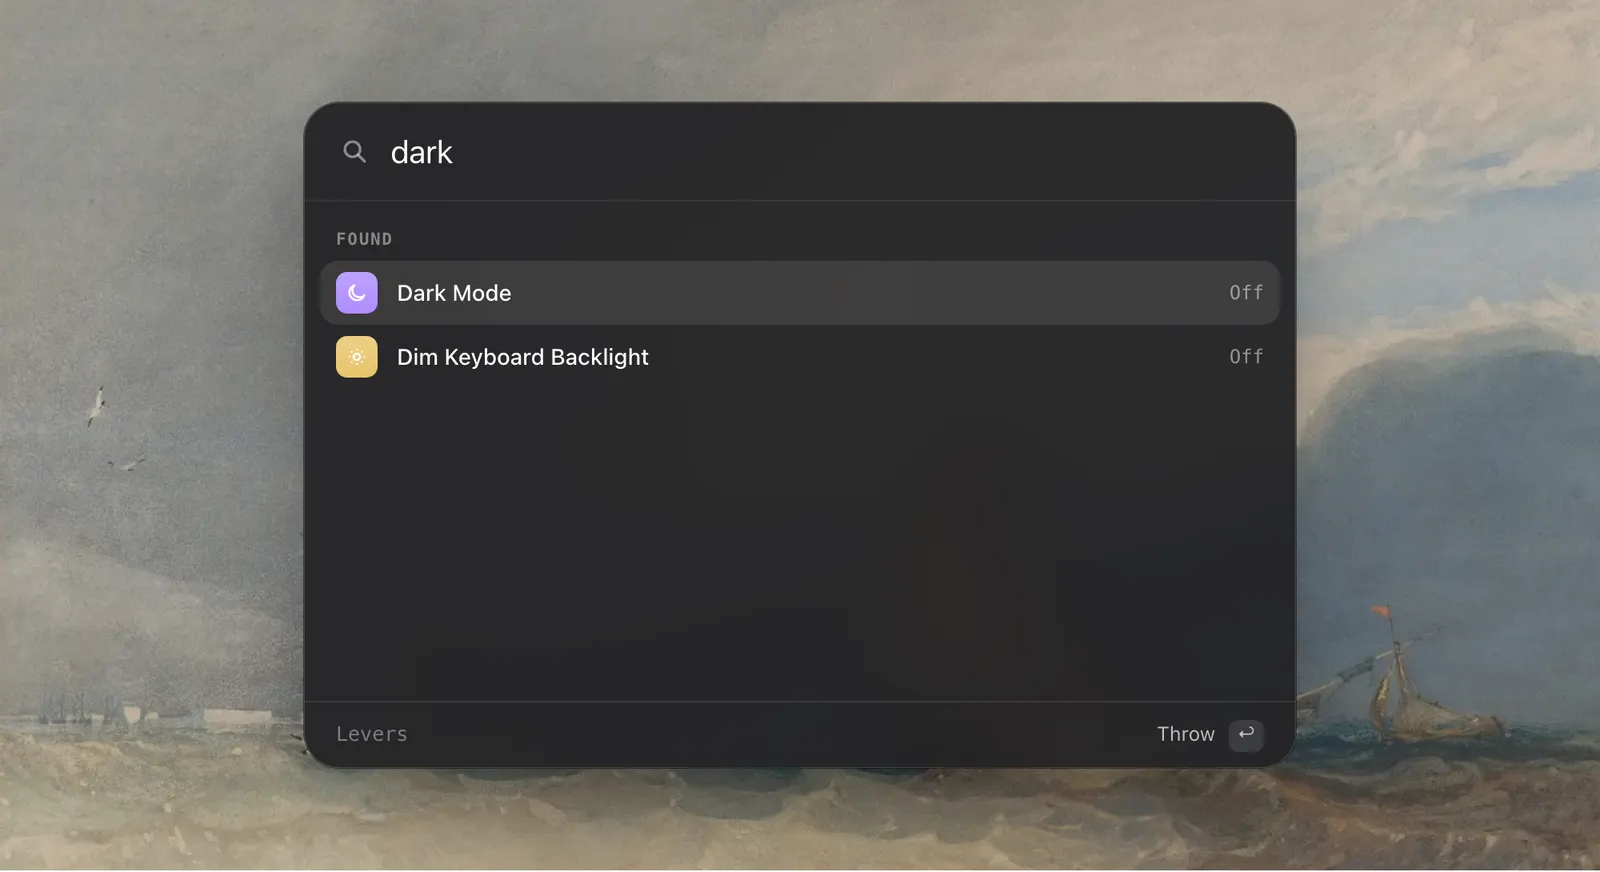
There is also the palette. Press ⌃⌥Space, type an app’s name and press Return, and that icon’s menu opens even if the icon is hidden.

Hide more icons for a call
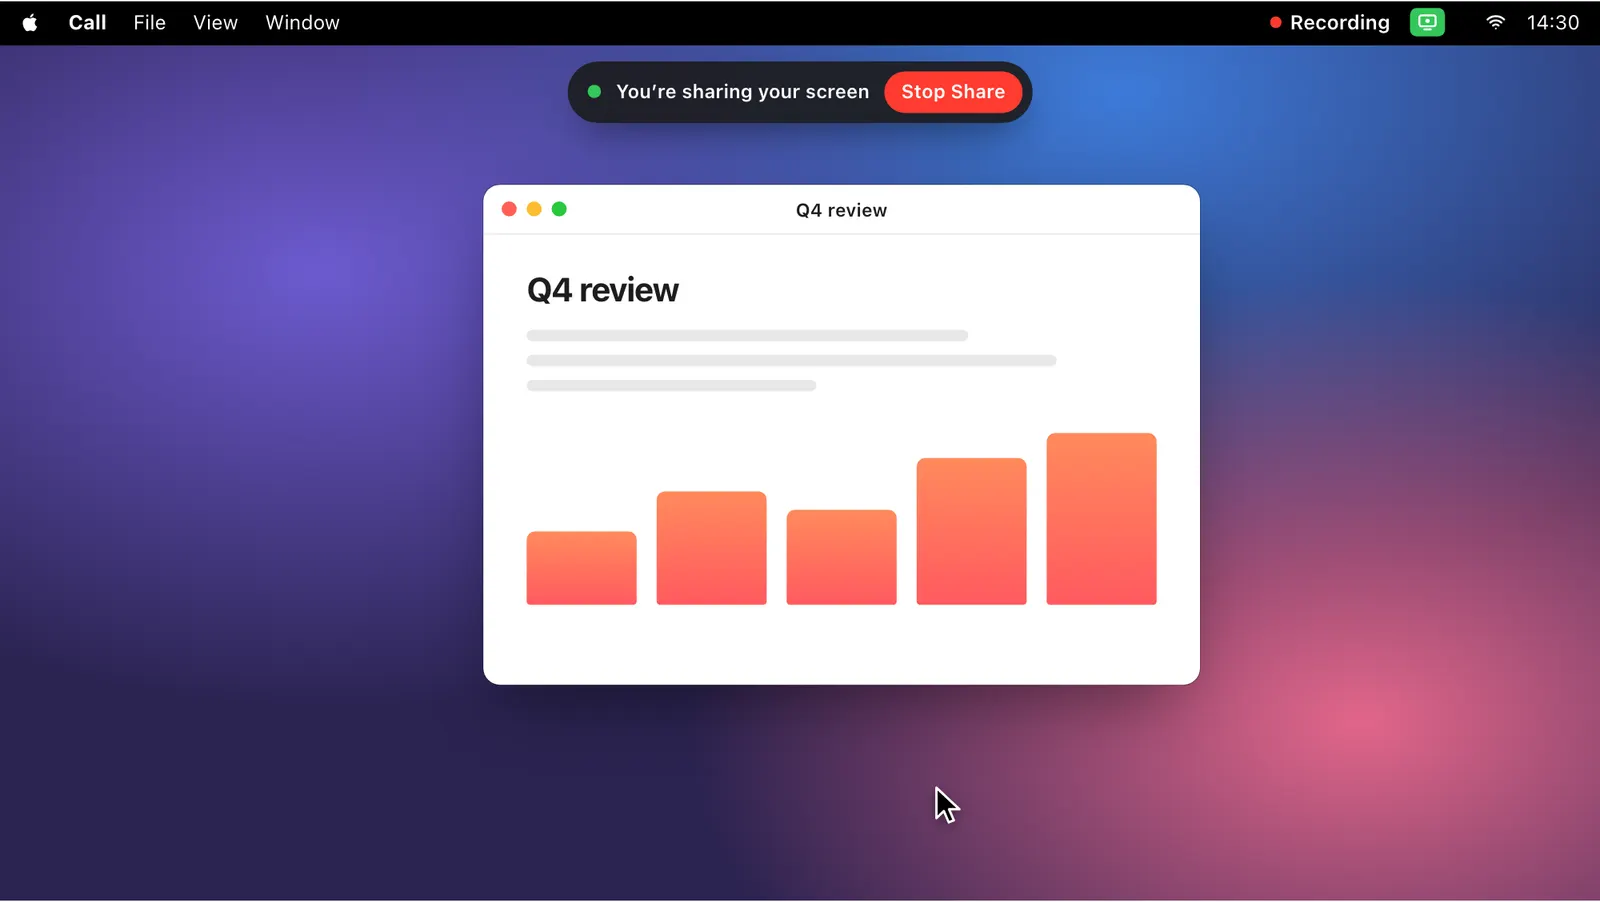
Some icons are fine most of the day and wrong on a shared screen. Add a Menu Bar Icon step to a mode or a rule, pick the shelf, and that icon goes away only while the mode or rule is on. This works even when the shelves themselves are switched off, and the icon returns to where it was when the mode ends.
Recording Mode can hide the whole set of menu bar icons as one of its switches, so Slack and Messages are out of sight the moment a share starts.

Fit more icons beside the notch
On a MacBook the notch cuts the menu bar short, and icons that don’t fit beside it disappear without warning. Spacing in Settings › Menu Bar sets the icons closer together: Default, Compact or Tight. It is a setting macOS already has but System Settings doesn’t show. Each app picks it up the next time it opens, and Default is one click away.

What it needs, and its limits
The shelves use the way macOS 27 itself hides an app’s icons, so Levers asks for Accessibility only, to see which icons are in the bar. It never asks for Screen Recording. Because macOS ties the hiding to Levers, quitting Levers brings every icon back.
Two limits come from macOS. All of an app’s icons hide or show together, so an app with several, such as iStat Menus, moves as one. And while anything is hidden, macOS hides Focus and Now Playing on its own and returns them with the rest.
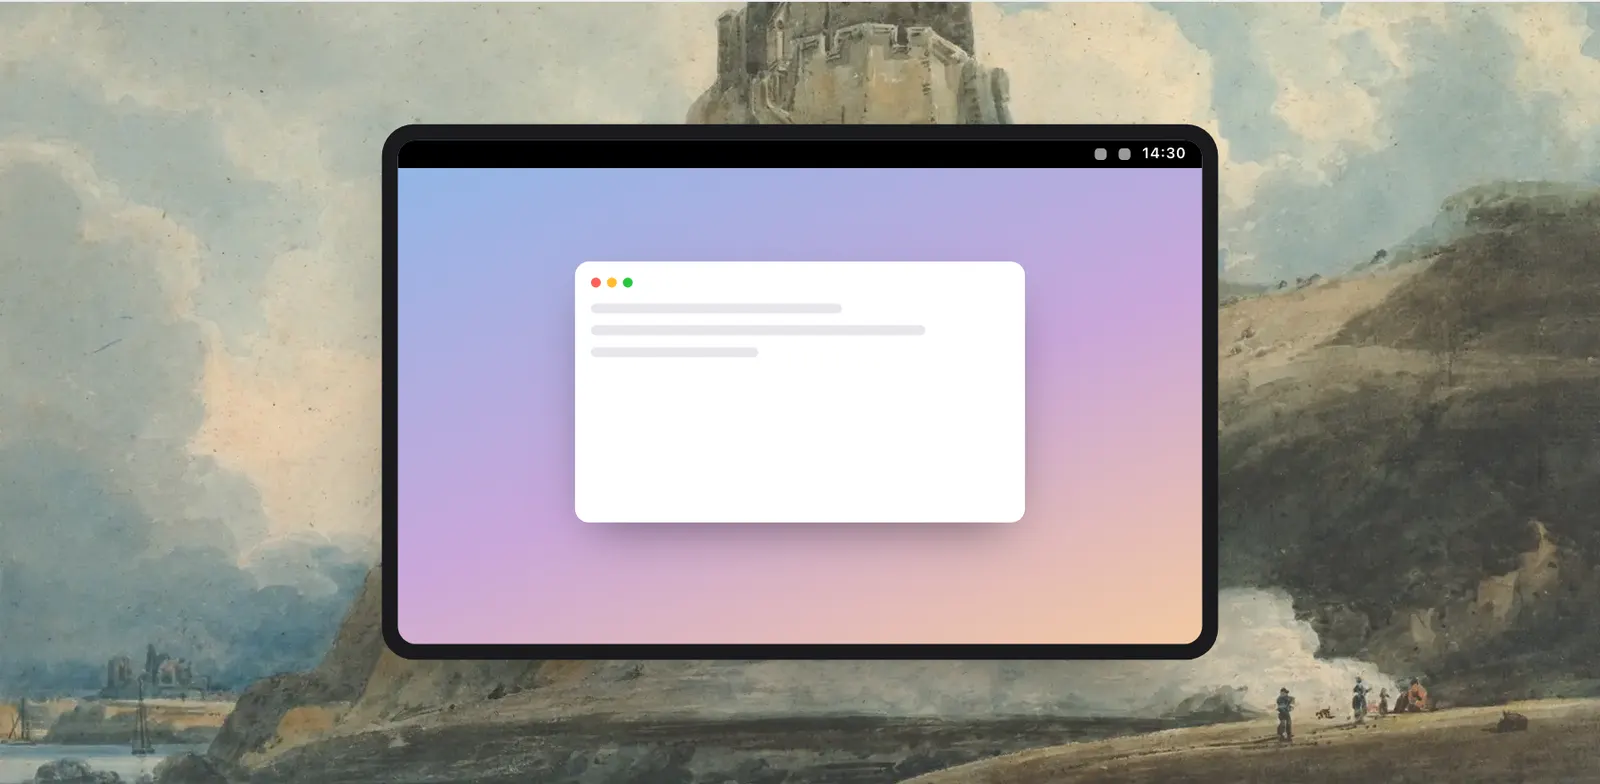
On macOS 15 and 26 there are no shelves. There the Hide Menu Bar switch can cover the bar with a clean one (the clock alone, plain black, or glass, and nothing on it shows in a recording), or hide the whole bar until you point at it.
How to use it
- 1
Open Settings › Menu Bar
Click the asterisk in the menu bar, then Settings. Levers asks for Accessibility once so it can see the icons in the bar.
- 2
Sort the icons
Drag each icon you don’t need to Hidden or Always Hidden, or right-click it and pick a shelf. The first move turns hiding on.
- 3
Choose how they return
Under Bringing them back, pick the mark, the top of the screen, or a click. Add a hotkey in Settings › Shortcuts if you want one.
- 4
Hide more during calls
In a mode or a rule, add Menu Bar Icon to what it does and pick the shelf.
The details
- Needs
- macOS 27 for the shelves
- Permission
- Accessibility only. No Screen Recording
- Shelves
- Visible, Hidden, Always Hidden
- Hidden icons return
- When you point at the mark or the top of the screen, on a click, or with a hotkey
- Always Hidden icons
- ⌥-click the mark
- From the keyboard
- ⌃⌥Space, the app’s name, Return
- Spacing
- Default, Compact or Tight
- On macOS 15 and 26
- A clean bar over the real one, or the whole bar hidden
- Where it is
- Settings › Menu Bar
Questions
Does Levers need Screen Recording permission to hide menu bar icons?
No. It needs Accessibility only, to see which icons are in the bar. The hiding itself is done by macOS.
Can I hide just one of an app’s menu bar icons?
No. macOS hides or shows all of one app’s icons together, so an app with several, such as iStat Menus, goes or stays as a whole.
Do the icons stay hidden after a restart?
Yes. Hiding stays on when Levers or the Mac restarts, and after an update. If you quit Levers, every icon comes back.
Can I still use a hidden icon’s menu?
Yes. Point at the bar to bring it back, or press ⌃⌥Space, type the app’s name and press Return to open its menu directly.
What happens on macOS 15 or 26?
The shelves need macOS 27. On earlier versions Hide Menu Bar can cover the bar with a clean one, or hide the whole bar until you point at it.
The same feature on the app's own site: leversmac.com/features/menu-bar