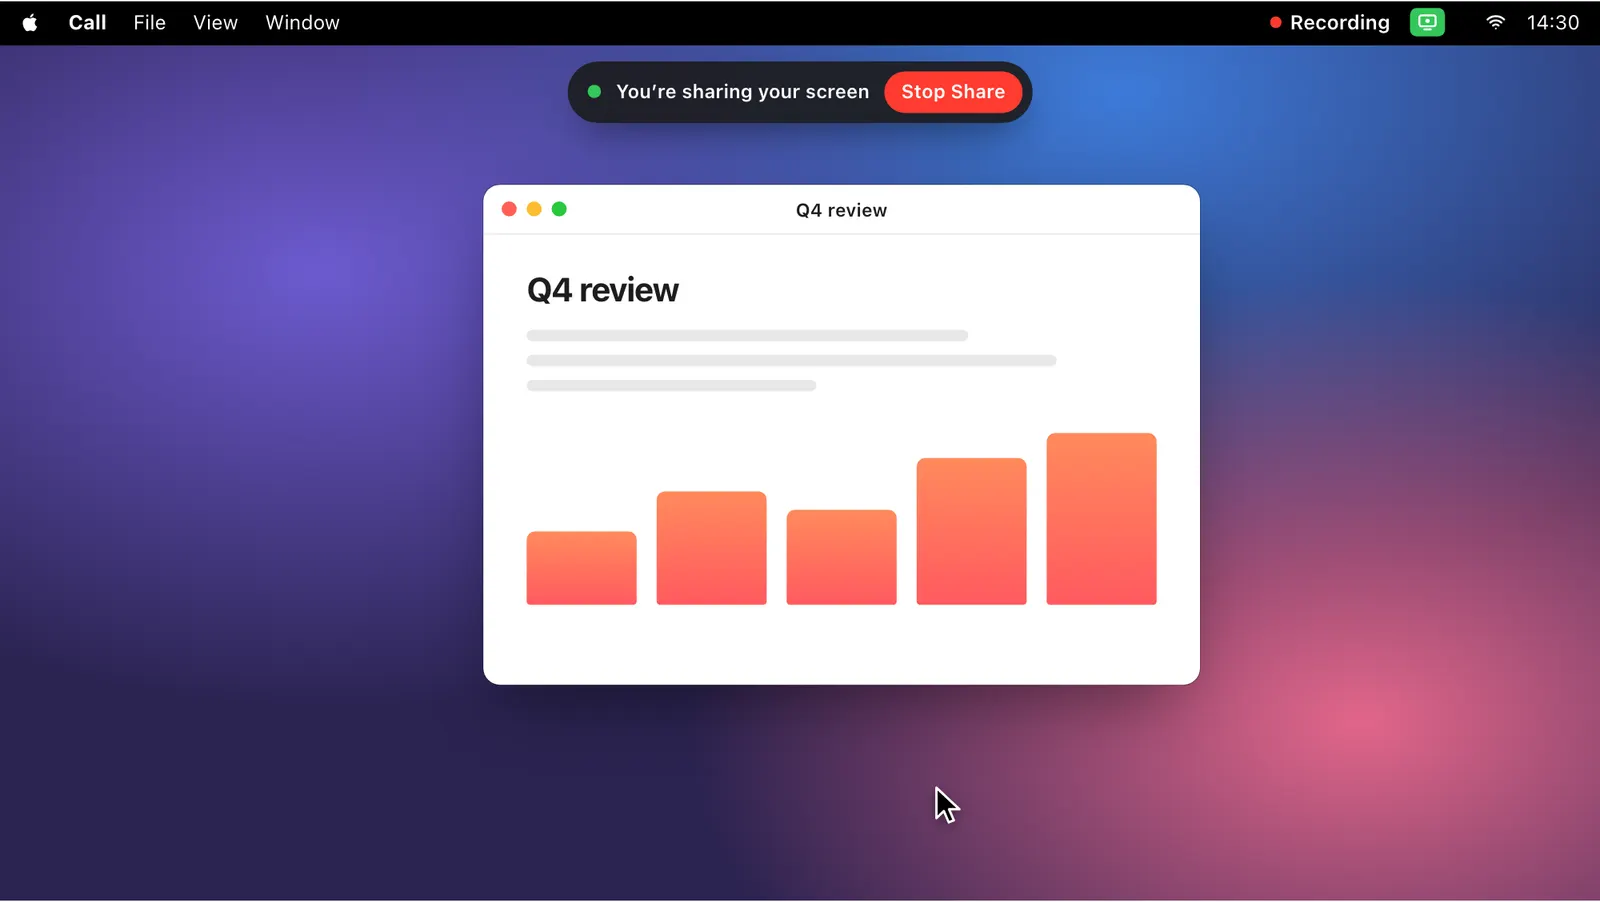
It starts when the capture starts
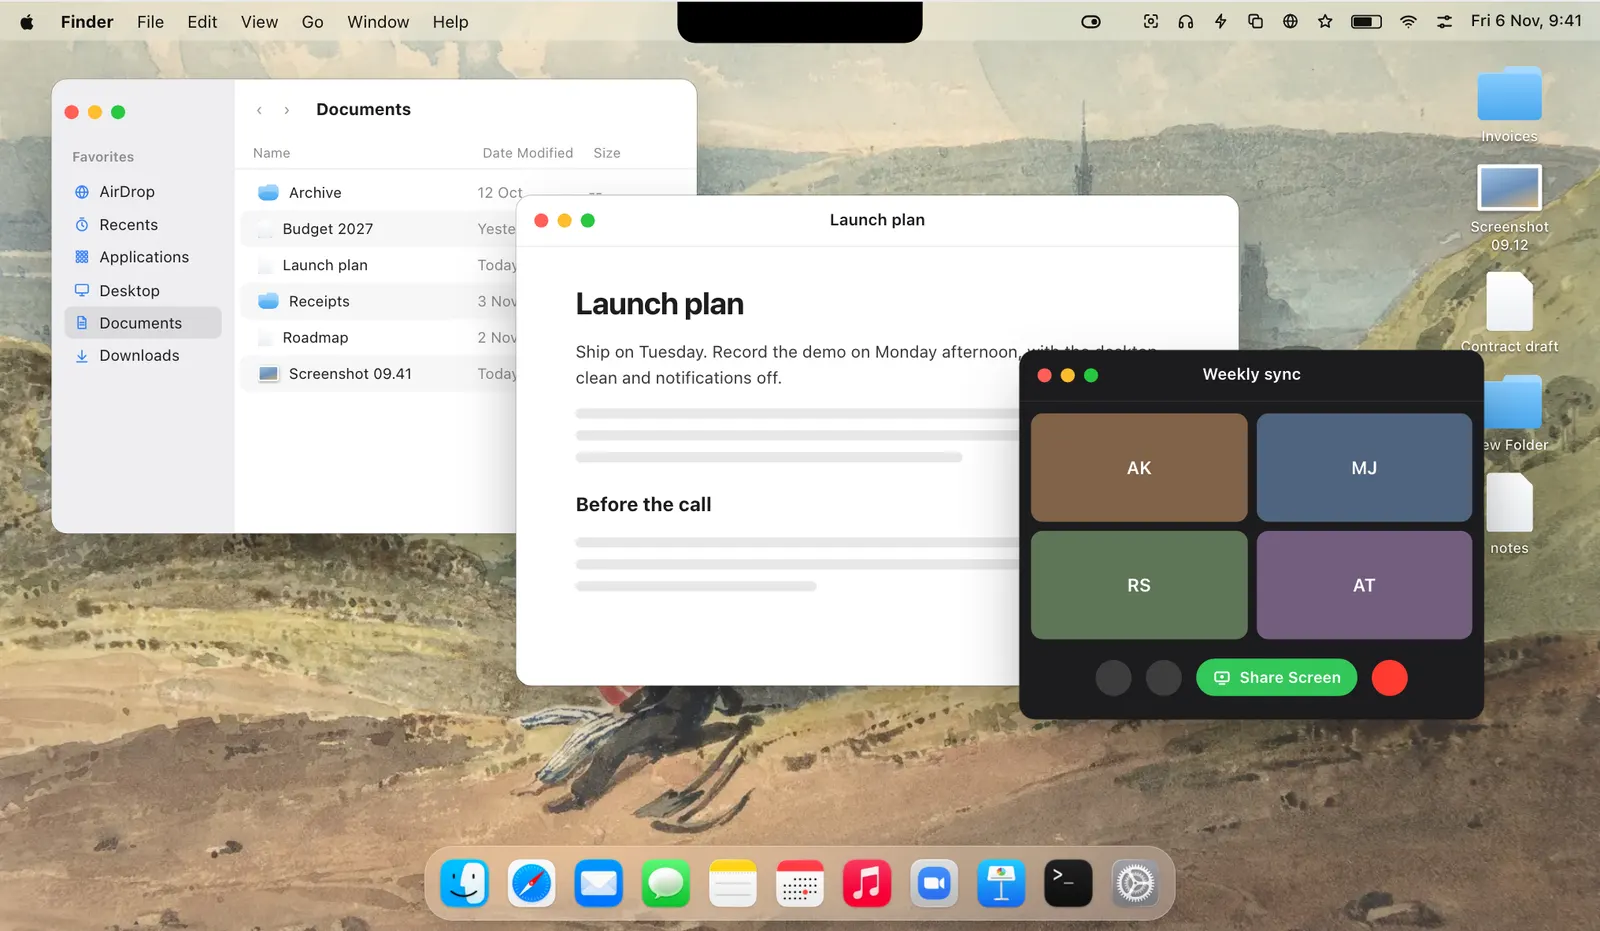
Levers watches for any app that begins capturing the screen. That covers Zoom, Google Meet, Teams and FaceTime, recorders such as Screen Studio and QuickTime, and a share from a browser tab. You don’t press anything: the share begins and Recording Mode is on.
A screenshot doesn’t count, and a capture has to last half a second before it does. When the capture stops, Recording Mode stops with it. If you would rather start it yourself every time, take Screen sharing out of what starts it in Settings › Modes › Recording Mode.
What it changes, and what you can add
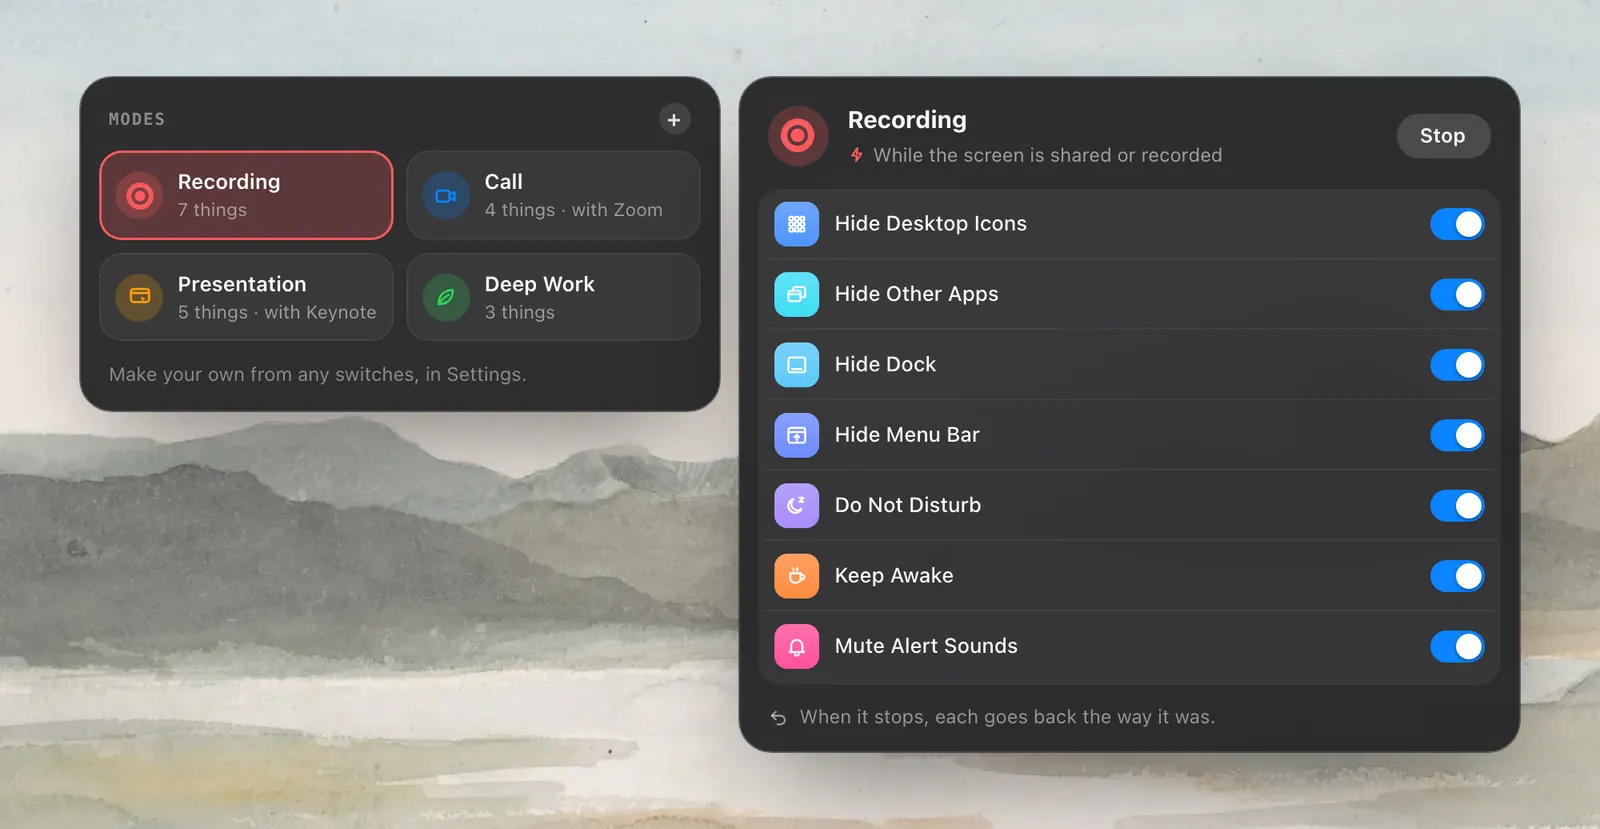
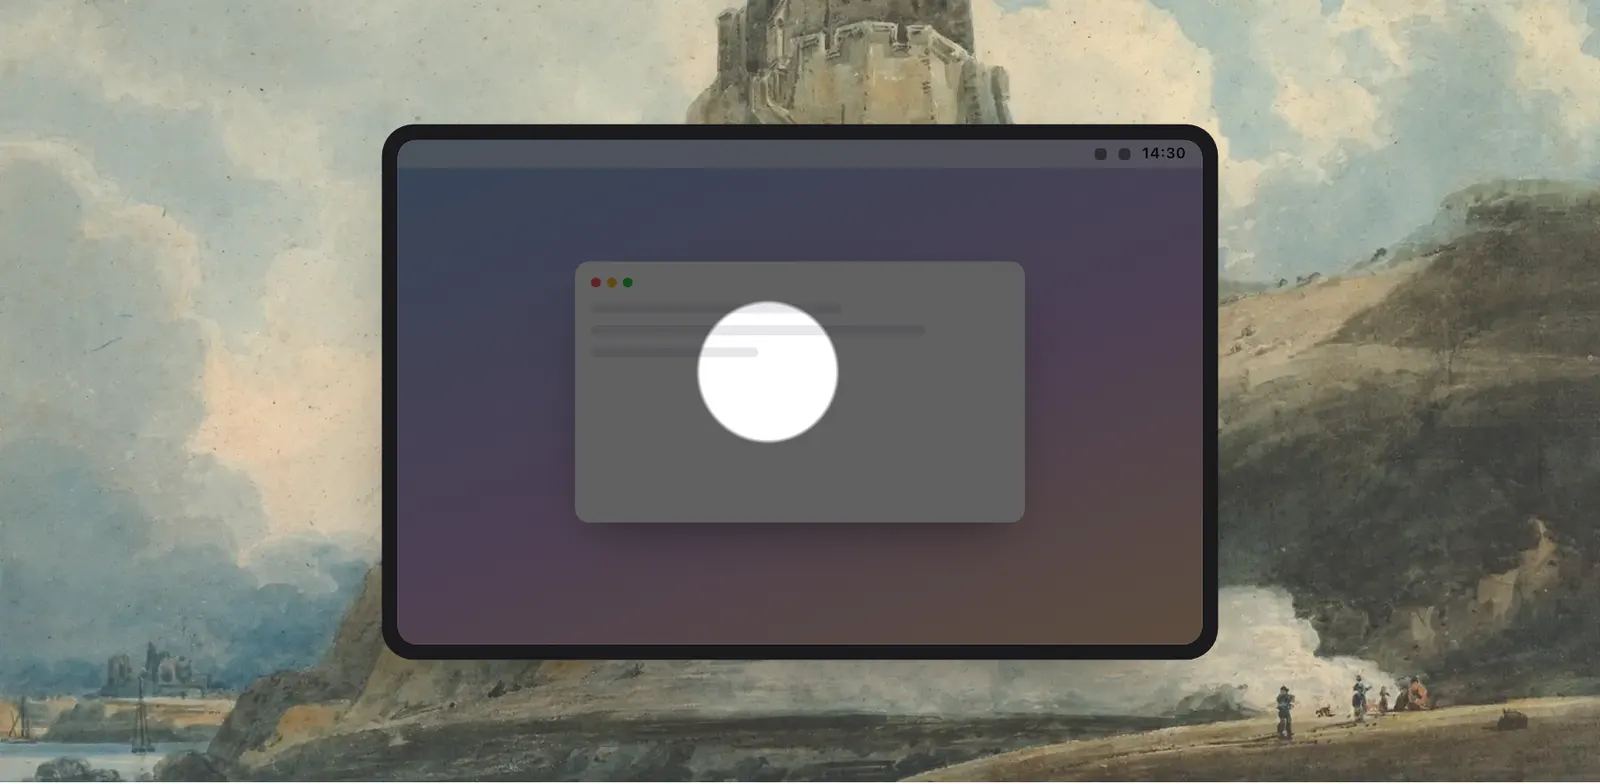
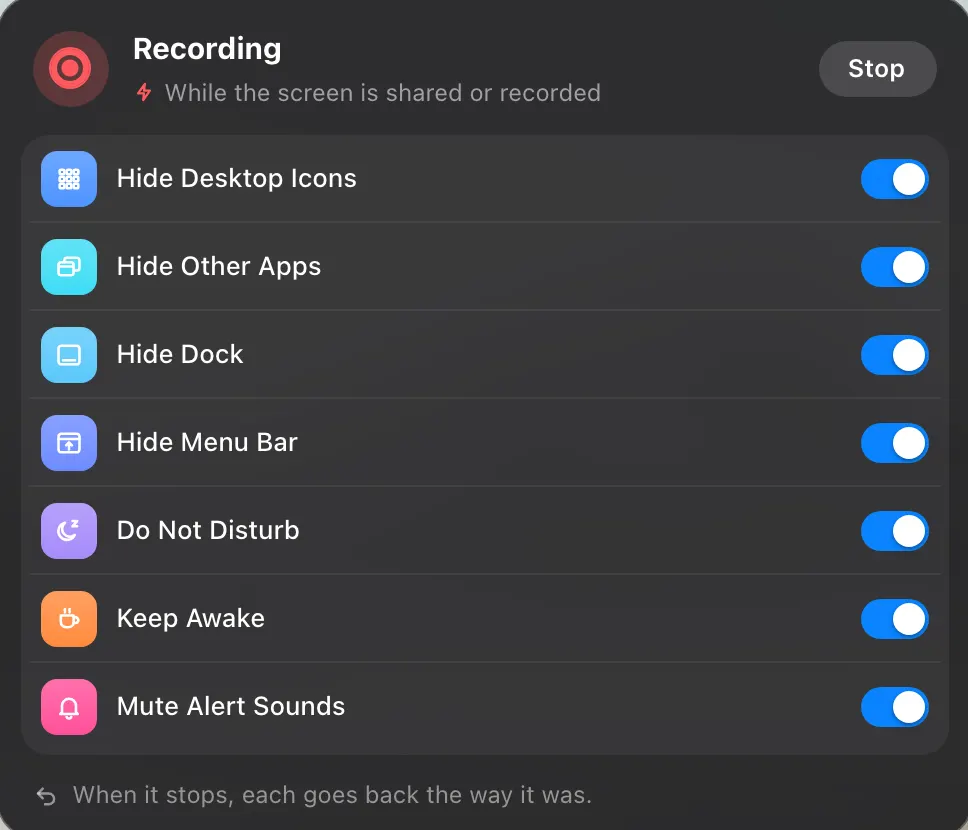
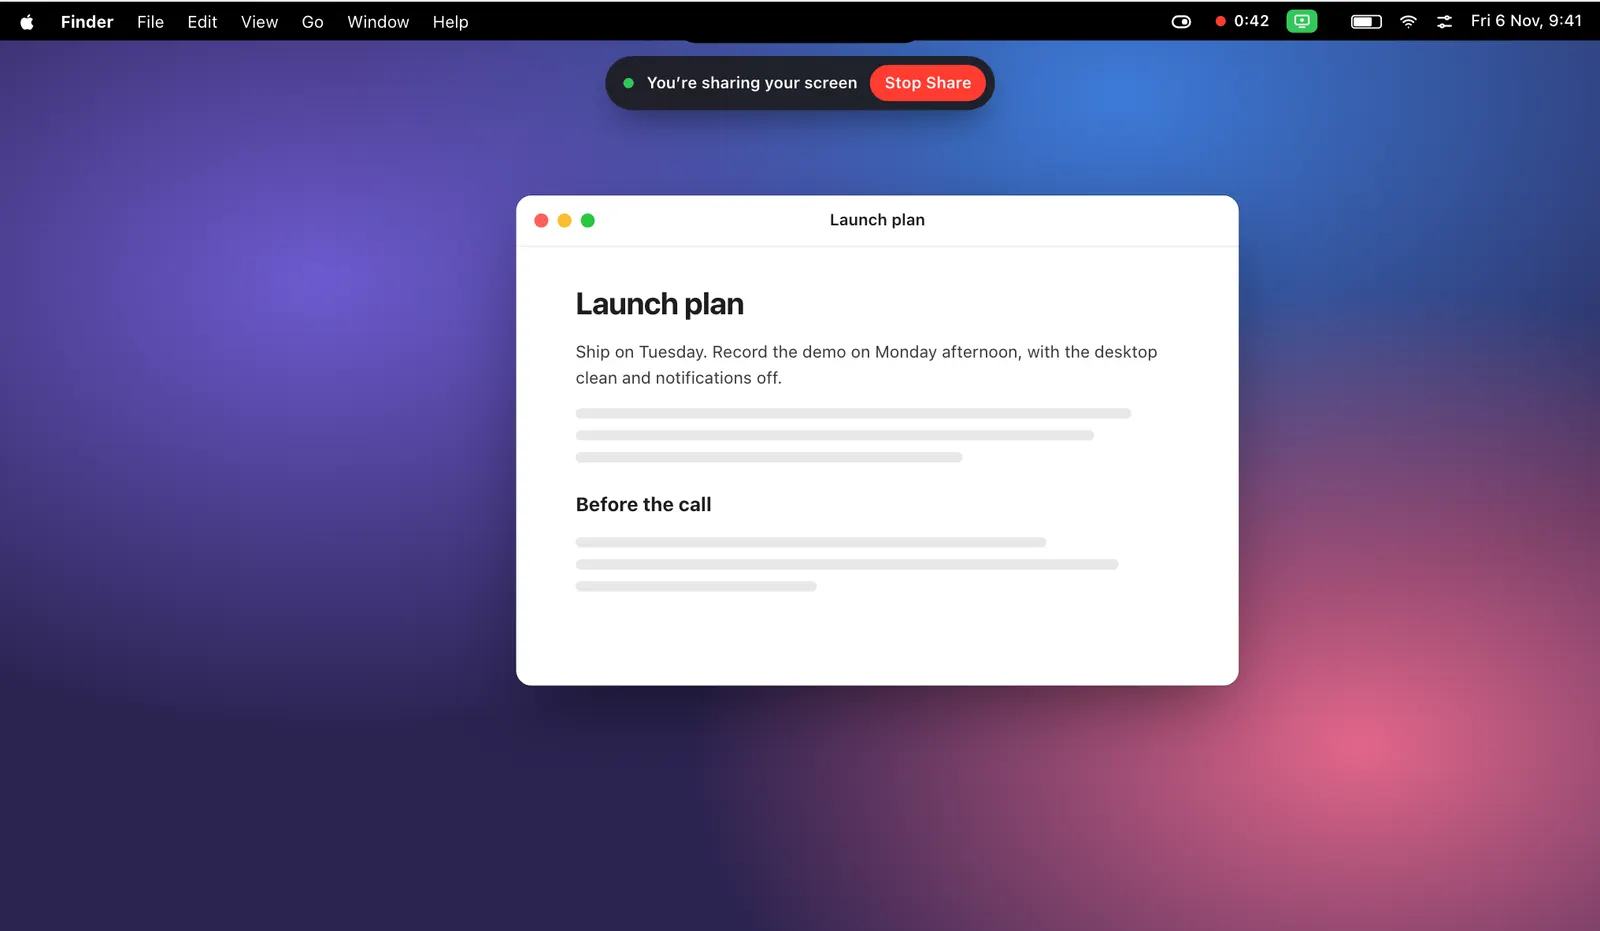
To begin with, Recording Mode does seven things: it hides desktop icons, other apps, the Dock and your menu bar icons, turns on Do Not Disturb, keeps the Mac awake and mutes alert sounds. A red dot and a timer sit in the menu bar while it is on.
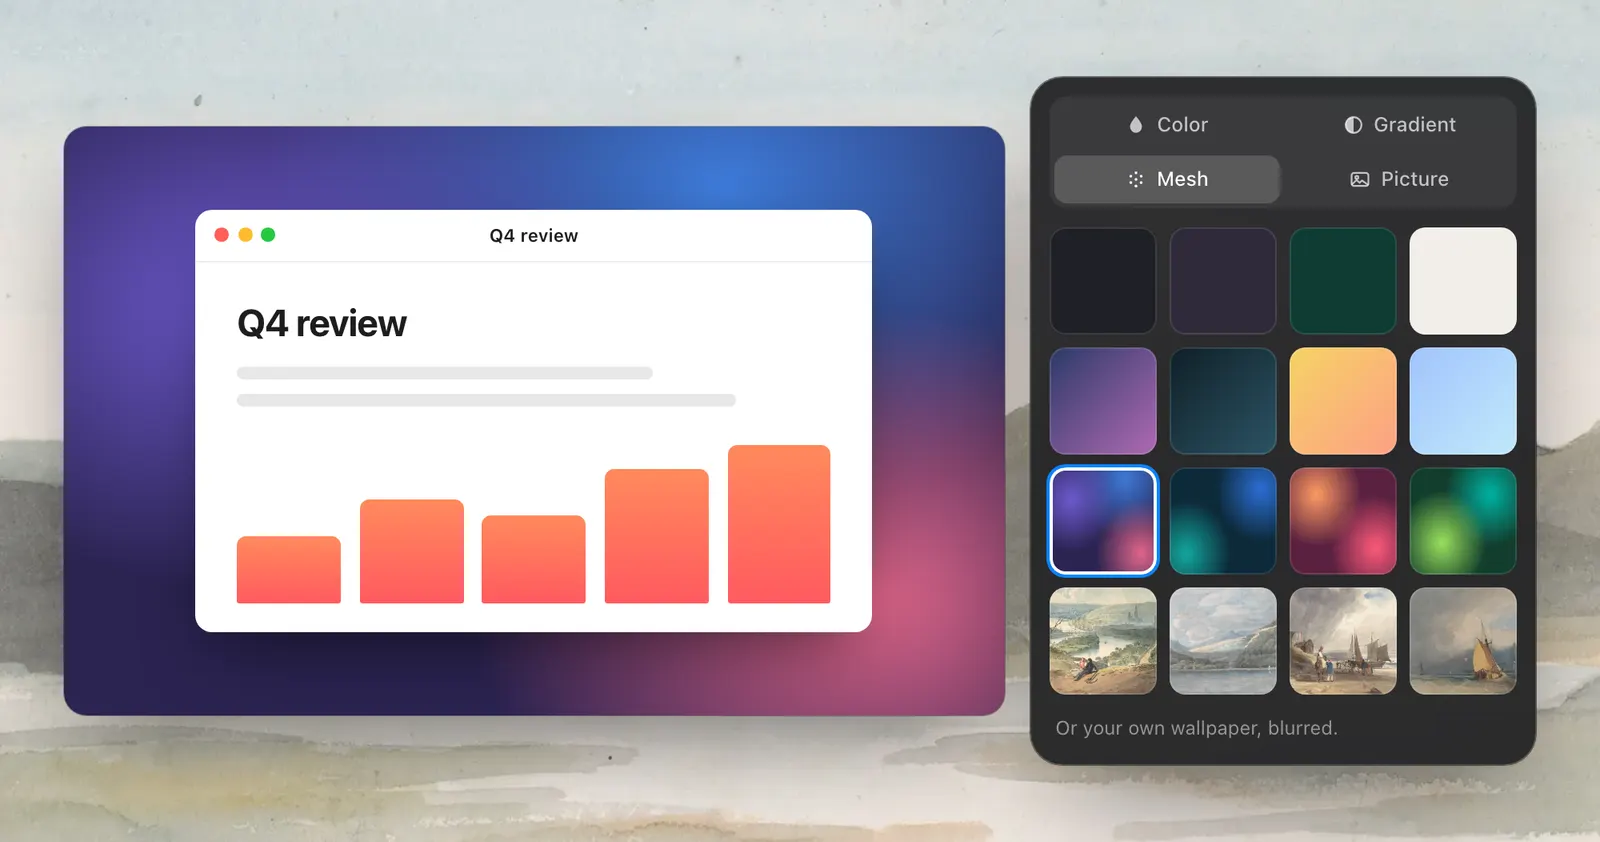
It is a mode like any other, so the list is yours to edit. Add a backdrop behind the app you are showing, Mute Microphone, Dark Mode, Night Shift, True Tone or Pointer Spotlight, and take out anything you don’t want. It can also set the main display to a resolution made for video, such as 1920 × 1080, and switch back when it stops.
- Hiding menu bar icons needs macOS 27
- Hide Other Apps keeps the app in front, the app that started the mode, and the apps you list in Settings › Switches
- Levers doesn’t record the screen itself
How everything is put back
Levers writes down the state of each setting before it touches it. When Recording Mode stops, it undoes the changes in reverse order, and your windows come back on top the way they were.
It restores only what is still the way Recording Mode left it. If you turned Do Not Disturb off by hand halfway through the call, it stays off. The record is a journal on disk, so if Levers quits or the Mac restarts in the middle of a call, the next launch finishes the job.
Starting it by hand
There are four manual ways in: the Start button in the dropdown, ⌃⌥⌘R from any app, an ⌥-click on the Levers icon in the menu bar, or asking Siri to “Start Recording Mode in Levers”. It is also a step in the Shortcuts app.
Started by hand, it can count 3 · 2 · 1 first. It then stays on until you stop it, or until an end time you set, with fifteen more minutes one click away.

How to use it
- 1
Share or record your screen
Start a share in any call app, or start a recording. Recording Mode turns on by itself.
- 2
Or start it yourself
Click Start in the dropdown, or press ⌃⌥⌘R in any app.
- 3
Edit what it changes
Open Settings › Modes › Recording Mode and add or remove switches.
- 4
Stop the share
When the capture ends, every change is undone in reverse.
The details
- Starts by itself
- When any app captures the screen for half a second or more
- Doesn’t start on
- A screenshot
- Changes to begin with
- Desktop icons, other apps, the Dock, menu bar icons, Do Not Disturb, Keep Awake, alert sounds
- Can also set
- Backdrop, Mute Microphone, Dark Mode, Night Shift, True Tone, Pointer Spotlight, a display resolution
- Hotkey
- ⌃⌥⌘R
- Other ways to start
- Start in the dropdown, ⌥-click the menu bar icon, Siri, the Shortcuts app
- ⌥-click
- Starts the first mode in your list, which is Recording Mode unless you move another above it
- Countdown
- 3 · 2 · 1, optional, when started by hand
- After a crash or restart
- Everything is put back the next time Levers opens
- Where it is
- Settings › Modes › Recording Mode
Questions
Does Recording Mode work with Zoom, Google Meet and Teams?
Yes. It reacts to any app capturing the screen, so it works with every call app and recorder, including a share from a browser.
Does taking a screenshot start it?
No. Only a share or a recording that lasts half a second or longer.
Can my screen recorder stay visible while other apps are hidden?
Yes. Hide Other Apps keeps the app in front, the app that started the mode, and any apps you list in Settings › Switches.
What if Levers quits during a call?
Each change is written to disk before it is made, so the next time Levers opens it puts everything back.
Can I turn off the automatic start?
Yes. In Settings › Modes › Recording Mode, remove Screen sharing from what starts it. You can then start it with ⌃⌥⌘R or from the dropdown.
The same feature on the app's own site: leversmac.com/features/recording-mode